
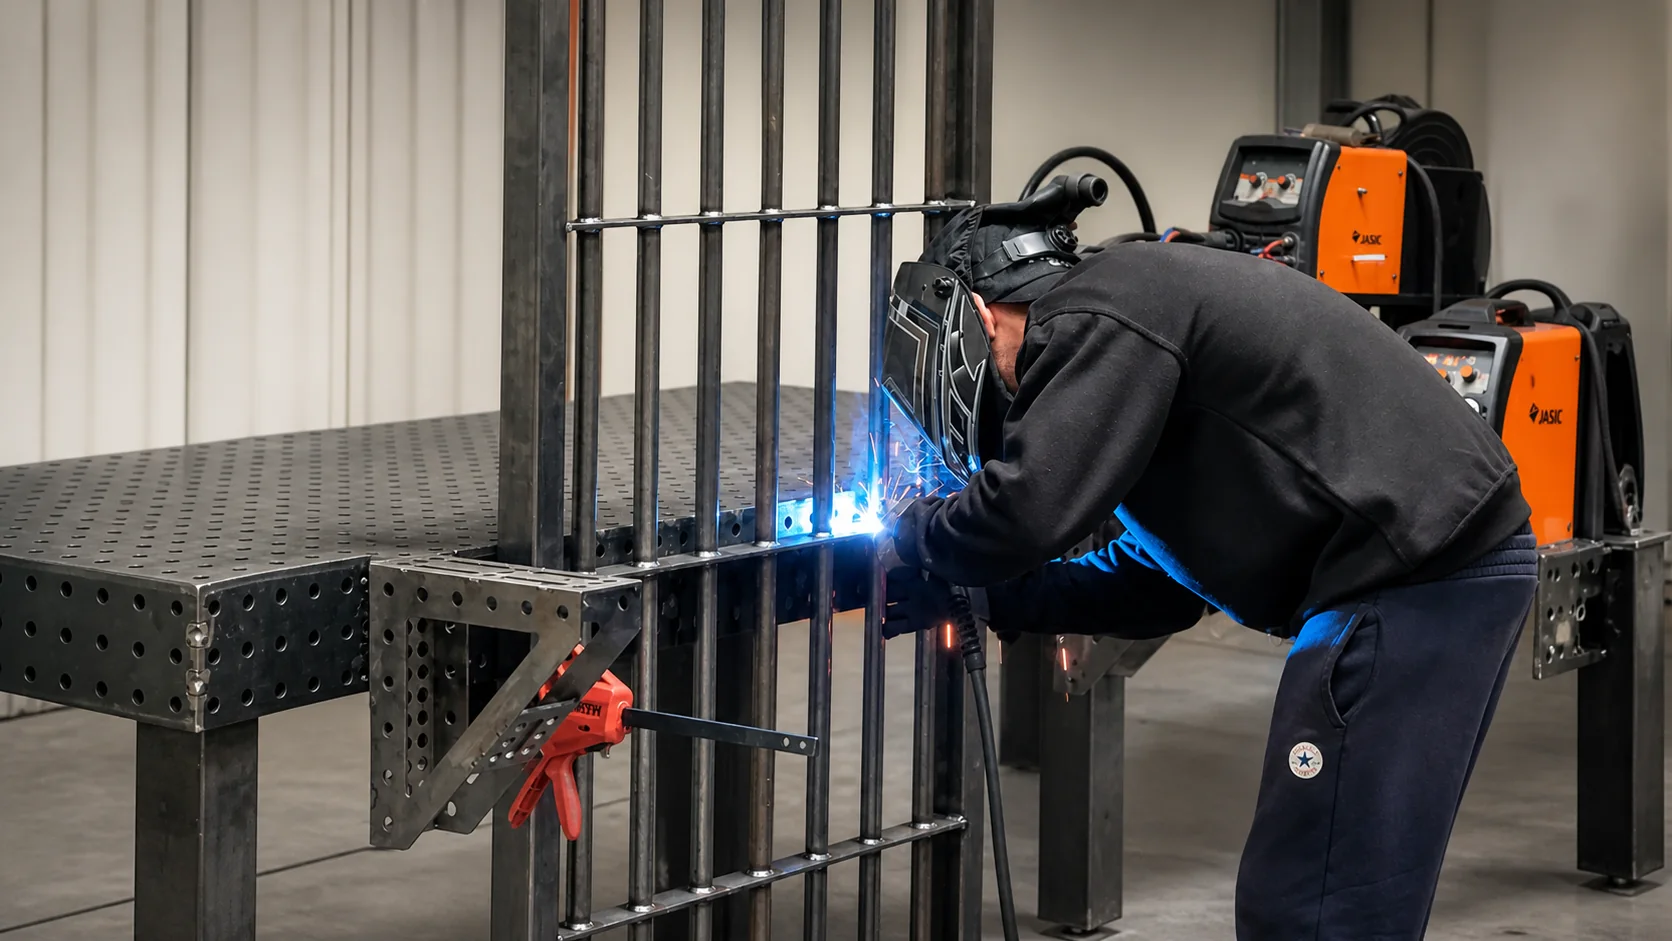
// capability 06 · joined and built in-house
Clean, controlled welding as part of the complete build.
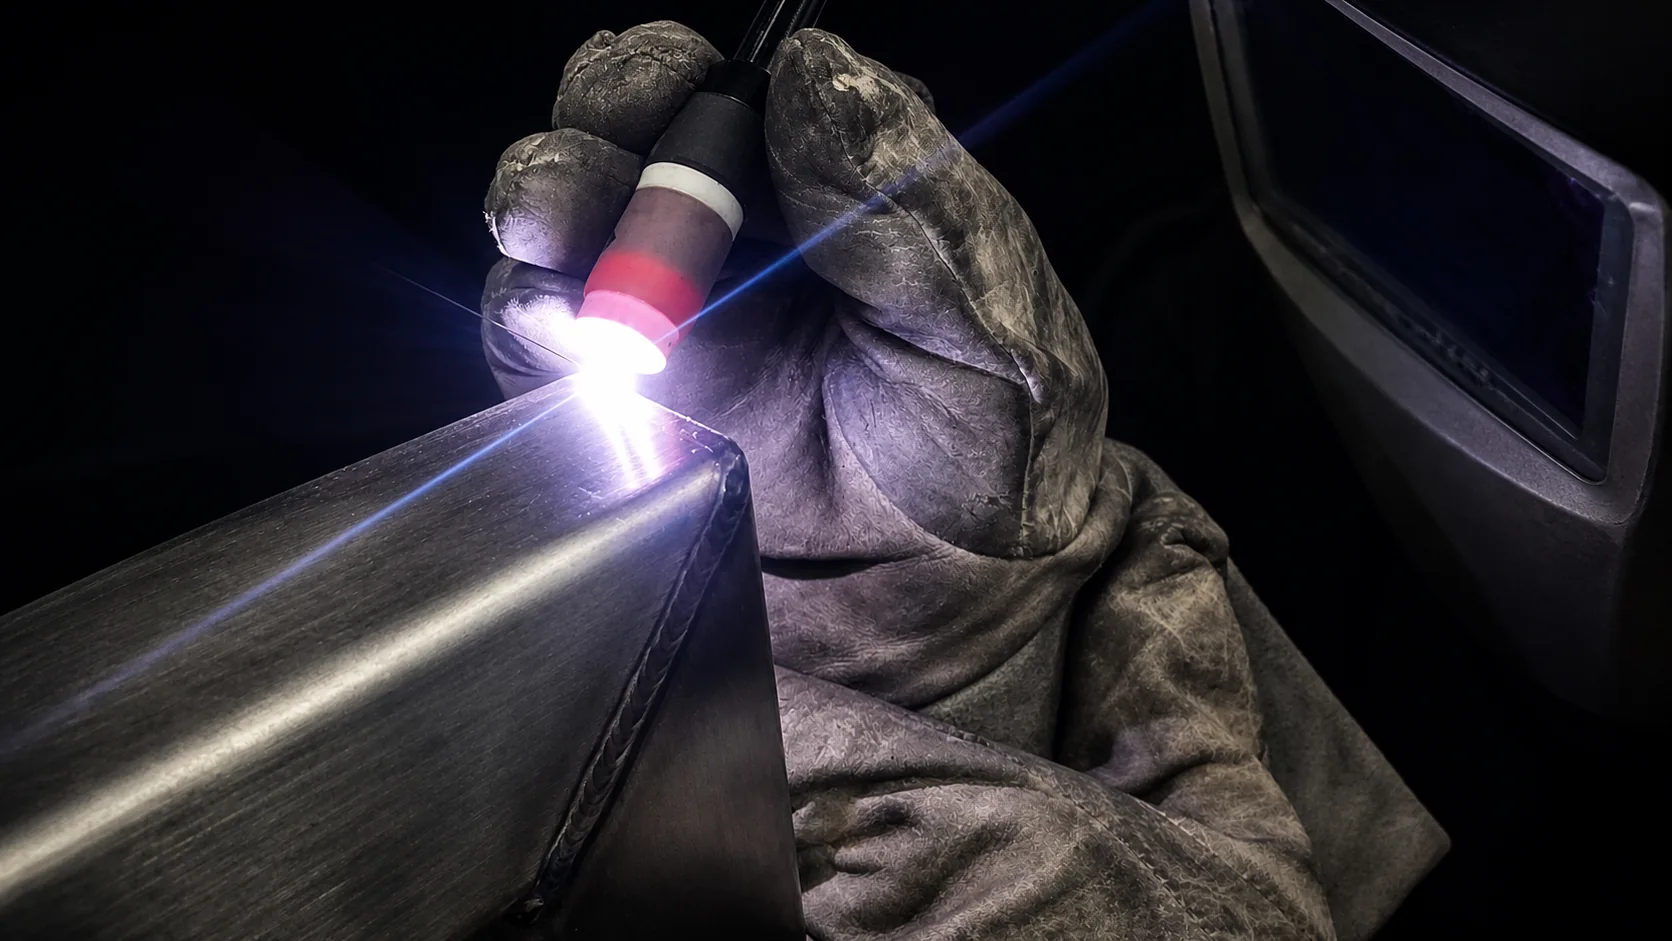
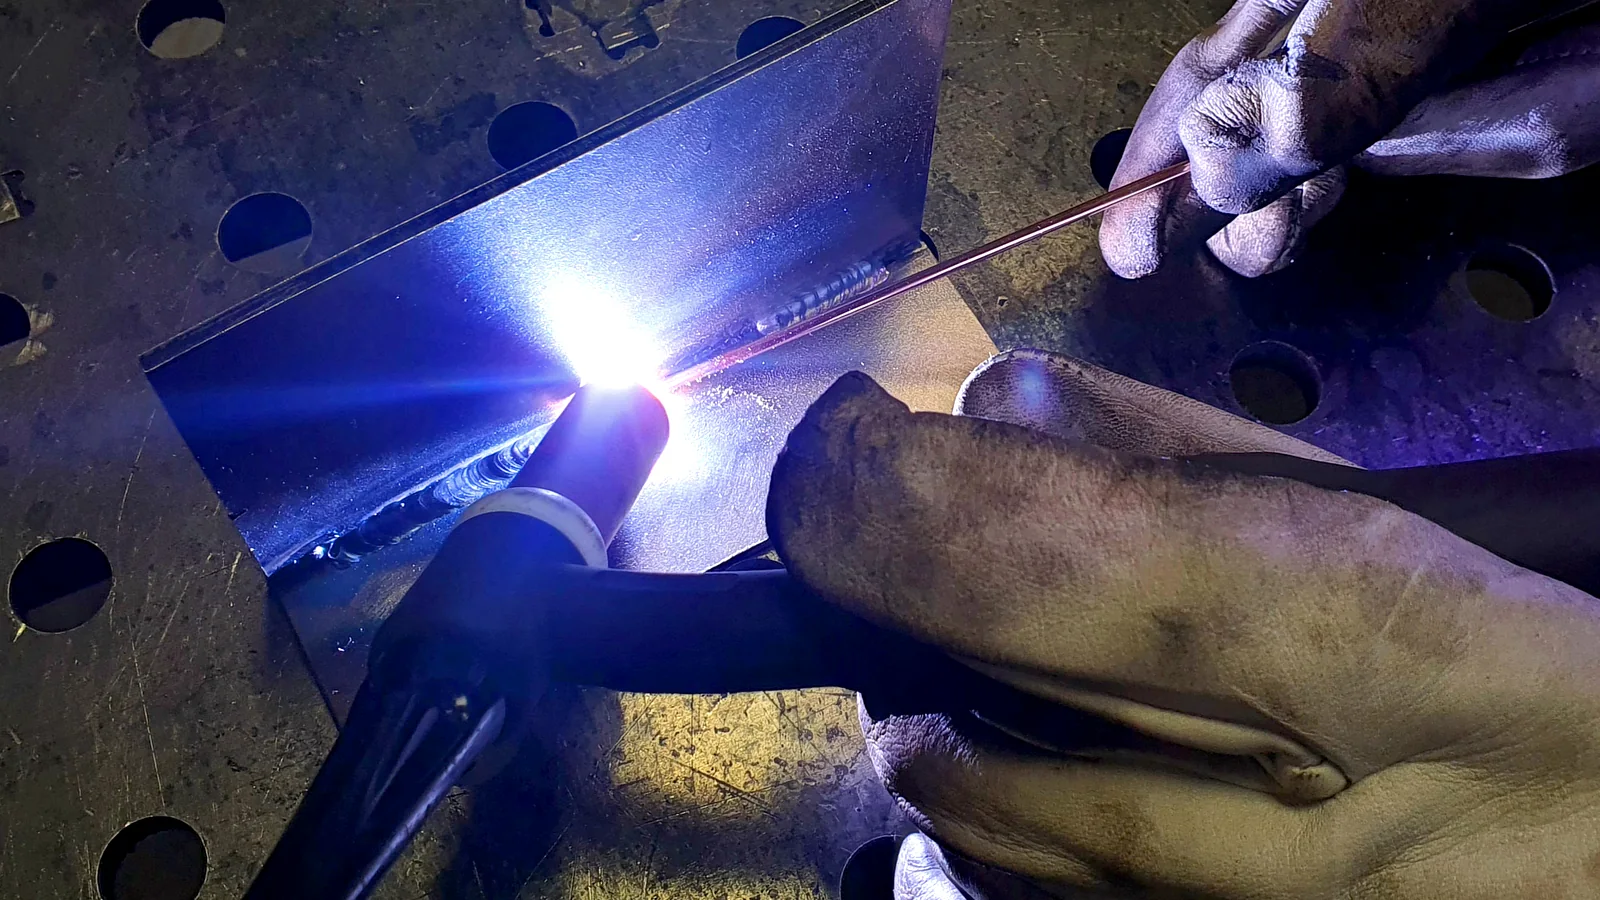
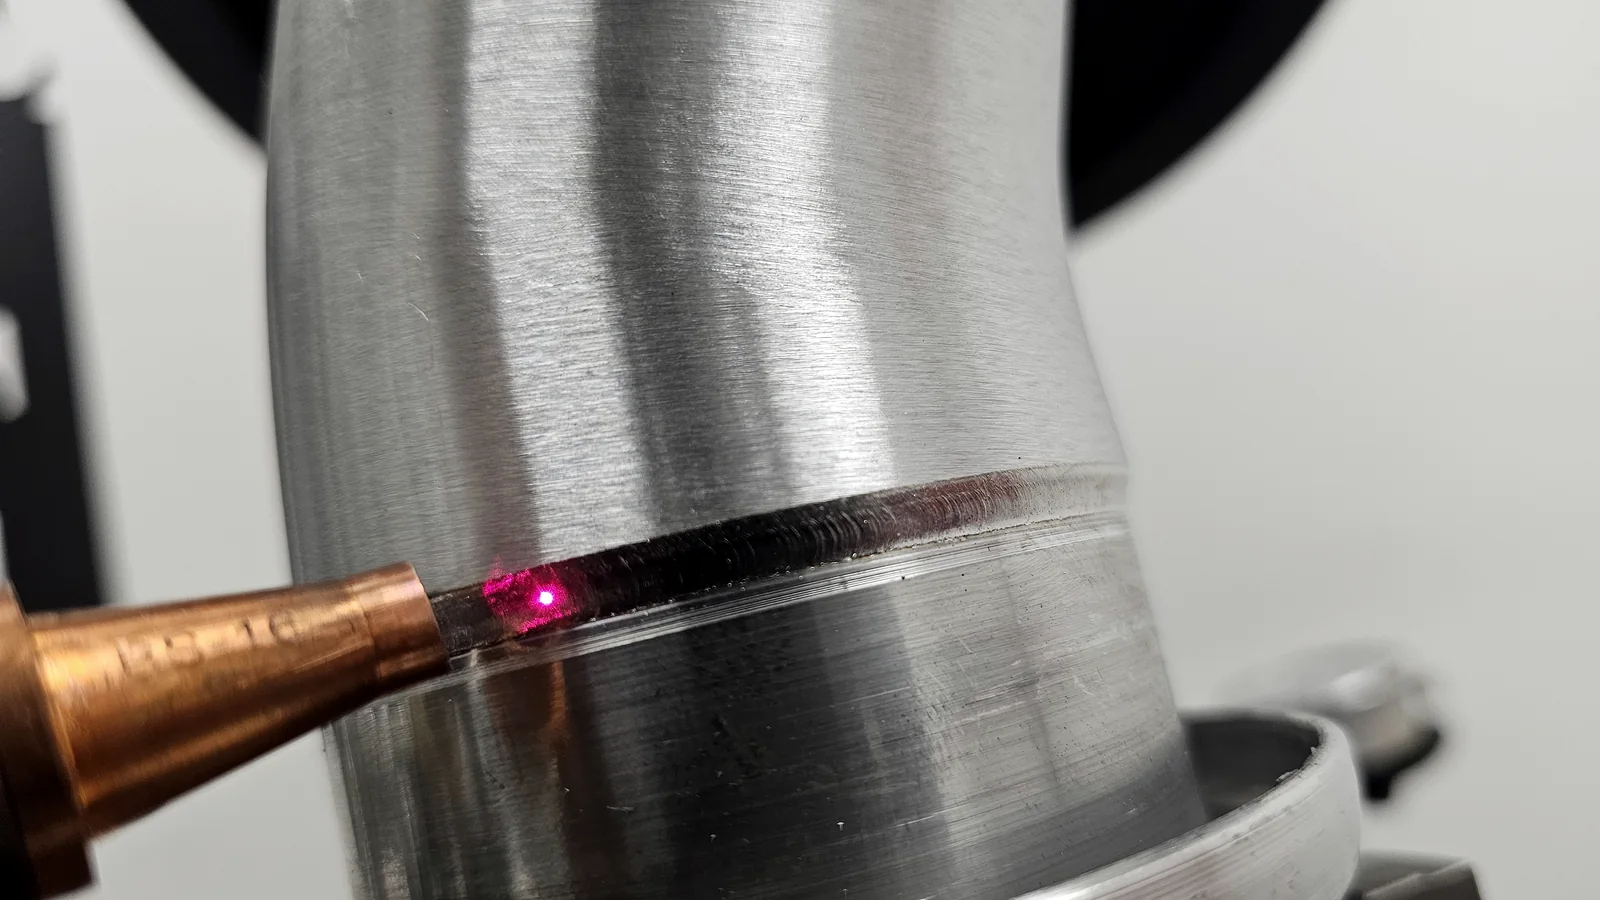
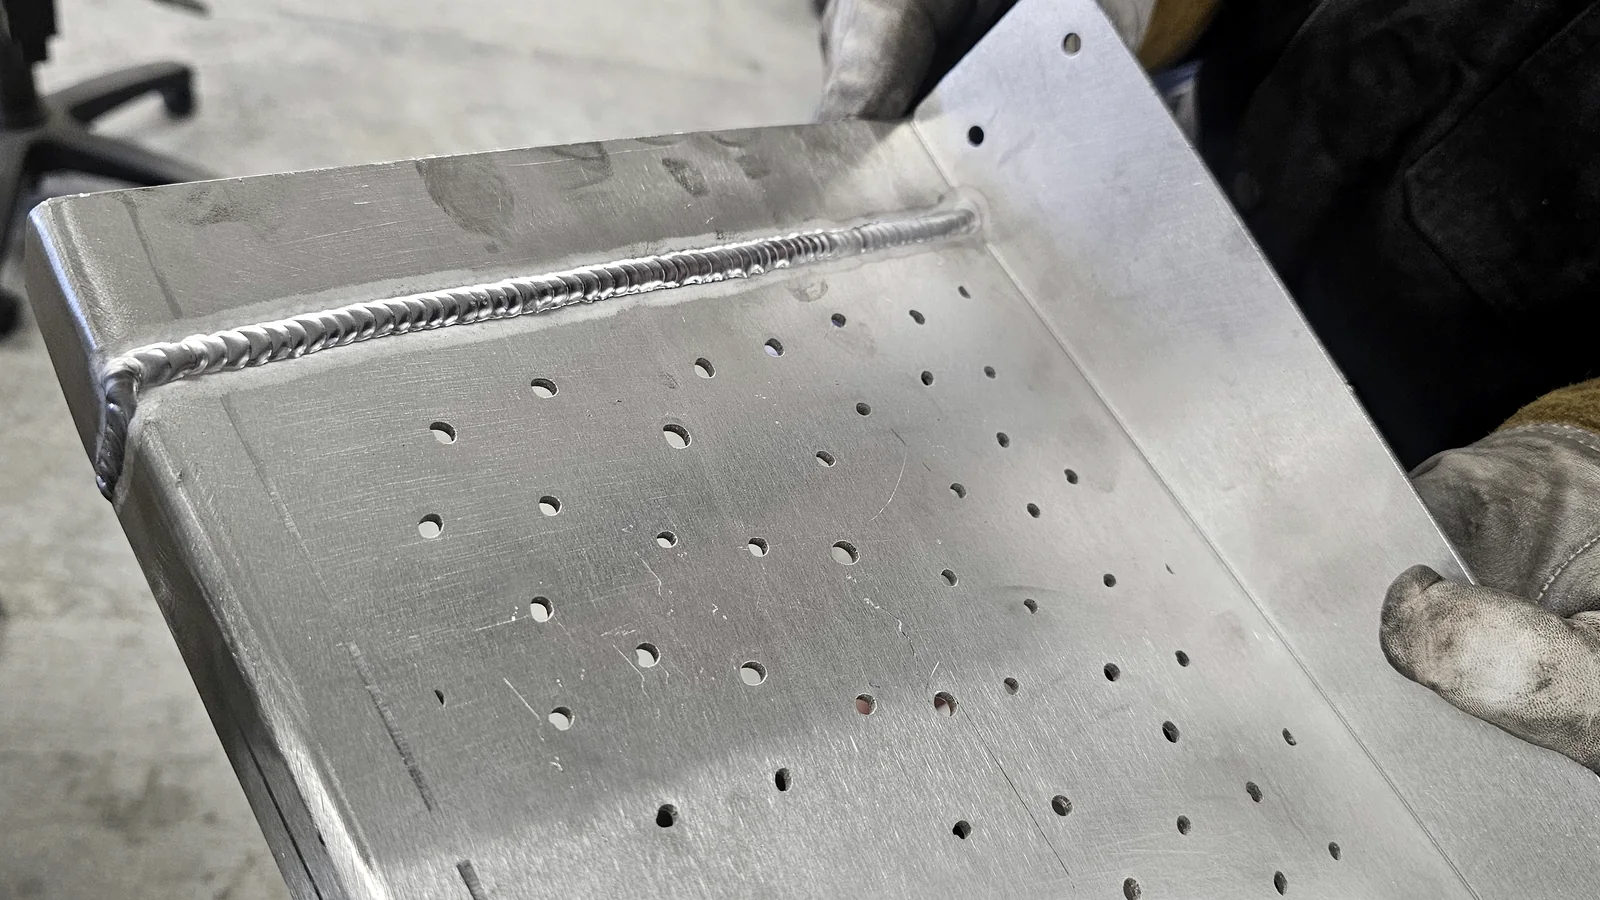
Our MIG and TIG welding capability takes accurately cut and formed components through to fabricated parts and assemblies in mild steel, stainless and aluminium. Joint access, appearance, distortion and finishing are considered before the first weld is made.
What we weld
Work ranges from a seam or welded bracket to frames, cabinets, guards, trays, bases and multi-part assemblies. We weld mild steel, stainless steel and aluminium, selecting MIG or TIG to suit the material, joint, production requirement and expected appearance.
Cutting and bending the component in the same workshop gives the welding stage consistent parts to locate and reduces the need to correct avoidable fit-up problems at the bench.
When welding is the right route
Welding suits permanent joints, structural frames, sealed or continuous seams, complex assemblies and parts that cannot be formed as a single piece. It also allows sheet, plate and sections to be combined into one finished item.
Where a tab, fold, mechanical fixing or fitted insert would make assembly simpler or more serviceable, we can discuss that before manufacture rather than defaulting every joint to weld.
Designing for welding and assembly
A clear drawing should define what the joint must do and what the finished assembly must look like—not merely that two pieces touch.
Give the welder access
Allow room for the torch, filler and a sensible sequence. Deep closed corners and hidden seams may be difficult to reach or inspect after surrounding parts are fitted.
Define weld and appearance
Use weld symbols or clear notes for location, length and continuity. Identify cosmetic faces and say whether welds should remain as laid, be dressed locally or blended for finish.
Control heat and distortion
Long continuous welds add heat and can move thin material. Stiffening folds, balanced joints, tabs and slots, sensible weld lengths and a planned sequence can all help.
Fit-up, datums and tolerances
Show the dimensions that control how the assembly interfaces with the next item: mounting holes, overall envelope, squareness, contact faces and datum points. We can then focus fixturing and inspection on what matters in use.
If a particular welding qualification, inspection method or documentation standard is required, state it at enquiry stage so suitability can be confirmed before quotation.
Finish after fabrication
The required finish affects joint design and dressing. A visible stainless assembly has different needs from a mild-steel frame that will be powder coated. State surface direction, visible faces, masking points and acceptable weld appearance on the drawing.
Avoid unnecessary grinding. Dressing every weld can add time, heat and surface variation. Mark only the areas that truly need to be flush or cosmetic.
One route from components to assembly
We can supply welded work complete with the processes around it.
Laser-cut components →
Consistent profiles, slots and locating features produced from approved geometry.
Formed components →
Folds can stiffen the part, reduce piece count and locate the assembly before welding.
Finished assemblies →
Powder coat or agreed mechanical finish applied after fabrication and inspection.
Send the assembly drawing
Include material, quantity, weld requirements, critical dimensions, visible faces and final finish. We will review the full manufacturing sequence before quoting.